
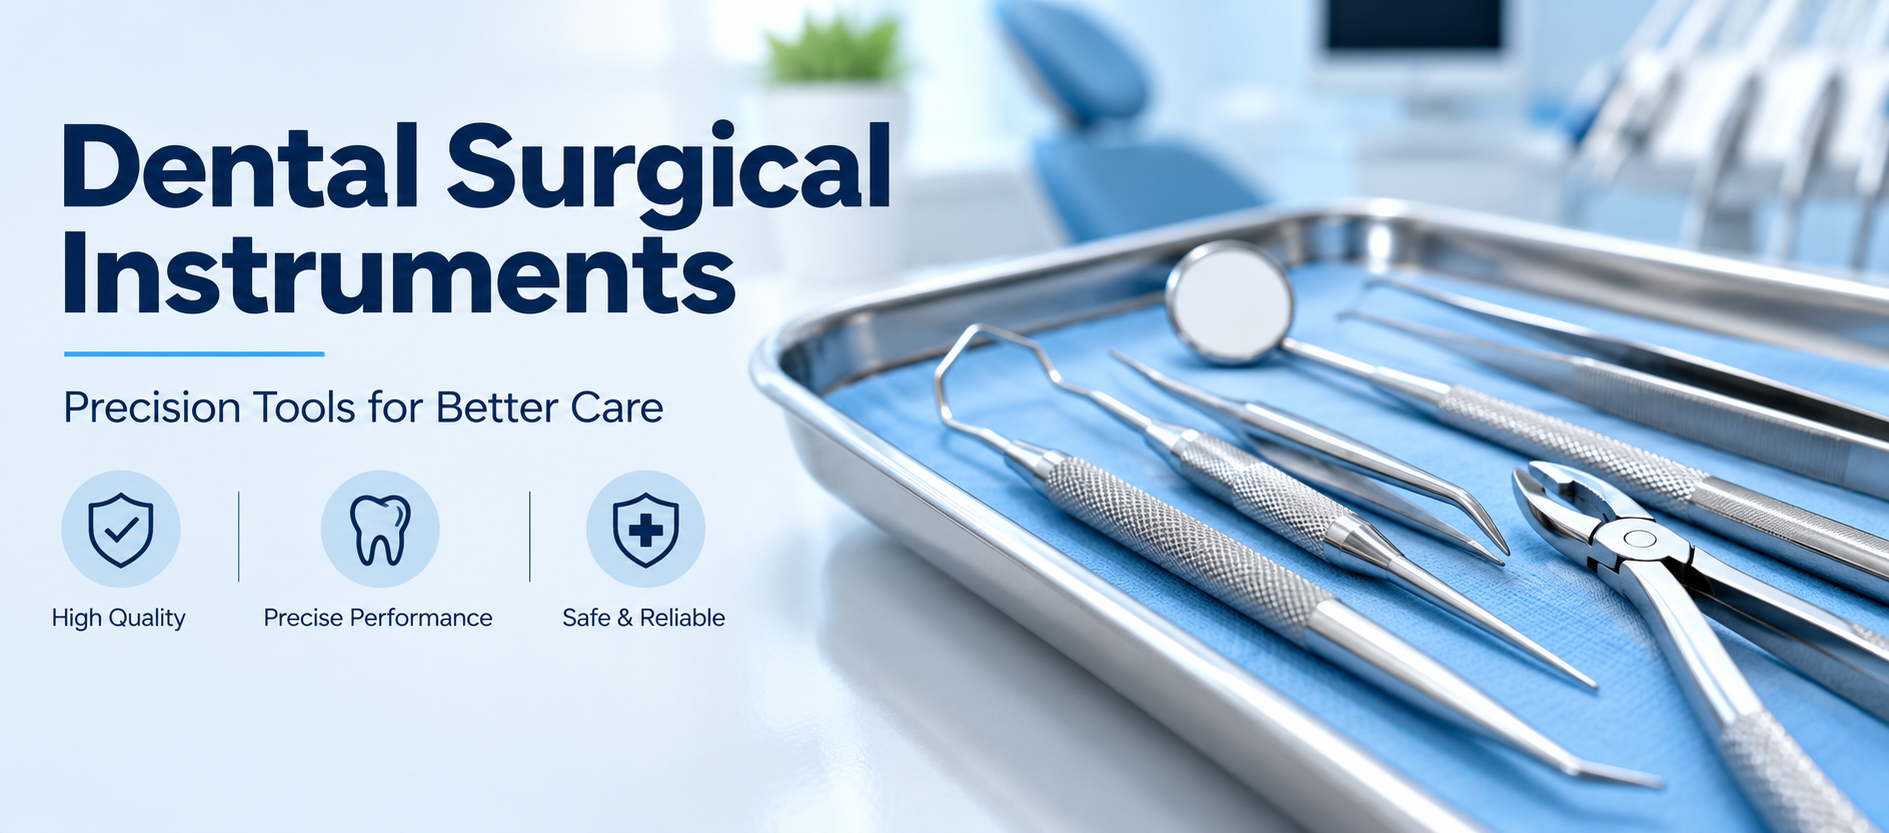
Ever lay back in a dental chair and catch a glimpse of that metal tray beside you? Rows of odd little tools, all shapes, all sizes. Most patients just look away. But if you actually ask a dentist about them, you’ll find out fast that none of it is random. Every single piece on that tray earns its spot. That’s what dental surgical instruments are — the actual hardware behind anything more involved than a cleaning. Pulling a tooth, placing an implant, treating gum disease that’s gone too far — none of it happens without this stuff.
I wanted to put together something that actually explains what these tools do, in normal language, without turning it into a textbook chapter.
So What Exactly Counts as a Dental Surgical Instrument?
Here’s the short version: if a tool is designed to cut, hold, lift, or remove tissue or bone in the mouth, it’s surgical. That’s different from your everyday check-up tools like mirrors and probes, which are just for looking and measuring.
Most surgical instruments are stainless steel. Some are titanium. Both hold up under repeated trips through the autoclave without rusting or going dull too fast. A few of the pricier ones now have tungsten carbide worked into the tips, which just means they stay sharp longer and grip better.
Nothing fancy going on conceptually — it’s really about durability meeting precision.
The Tools Themselves, Grouped by What They Actually Do
Pulling Teeth: Extraction Tools
This is the category most people have some vague memory of, even if it was years ago.
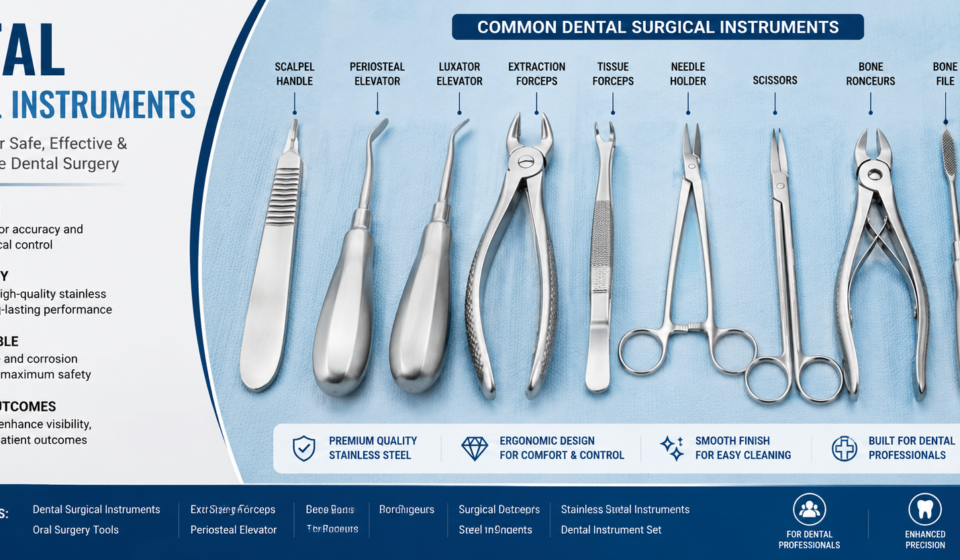
Forceps grip the tooth and work it out of the socket. They’re shaped differently depending on which tooth they’re built for — an upper molar forceps looks nothing like one made for a lower incisor.
Elevators come in before the forceps. They’re thin and wedge-like, and their whole job is to loosen the tooth from the ligament holding it in place. You’ll hear names like Cryer elevators or luxators thrown around — same basic idea, slightly different design.
Root tip picks are the fine, needle-thin tools used when a root fragment snaps off and needs to be teased out separately.
Working on Gums: Periodontal Instruments
Periosteal elevators lift the gum tissue away from the bone underneath, which is basically step one of any gum surgery.
Surgical curettes clear out diseased tissue once the area is opened up.
Retractors just hold things out of the way — cheek, tongue, gum flap — so the dentist can actually see what they’re doing.
Cutting Things: Blades, Chisels, Burs
A scalpel, usually fitted with a #15 blade, makes the initial incision into soft tissue.
Bone chisels and rongeurs trim or reshape bone — common during a tricky extraction or before placing an implant.
Surgical burs, attached to a handpiece, spin fast and cut through tooth or bone with real precision. These are the ones that make that whirring sound people remember.
Closing Things Up: Suturing Tools
Once the surgery part is done, someone has to stitch things closed.
Needle holders grip the suturing needle steady.
Tissue forceps hold the wound edges together gently — enough to line them up without crushing anything.
Suture scissors trim the thread cleanly once stitches are placed.
Keeping the Field Clear: Suction
Not glamorous, but you can’t do surgery in a mouth full of blood and saliva. Suction tips and irrigation syringes run more or less nonstop during most procedures.
Why the Cheap Ones Aren’t Worth It
A stainless forceps is a stainless forceps, right? Not really. Cheap instruments dull faster, corrode after a handful of autoclave cycles, and sometimes just fail mid-procedure. That’s not a hypothetical — a forceps with a weak hinge or poor grip can turn a five-minute extraction into a much longer, messier one.
Quality instruments cost more up front. They also last years instead of months, and they don’t put a patient at risk halfway through a procedure.
Keeping Them Sterile — There’s No Shortcut Here
Since these tools are in direct contact with blood and soft tissue, sterilization isn’t optional. The usual routine looks like this:
Pre-cleaning — wiping off debris right after use, often with an ultrasonic cleaner.
Disinfecting — a chemical solution kills off surface bacteria before the next step.
Autoclaving — high-pressure steam handles the rest.
Storage — sealed and stored properly so sterility holds until the next use.
On top of that, someone needs to actually check the instruments regularly. A hairline nick in a blade or a slightly loose hinge on a forceps is easy to miss, but it matters.
Picking Instruments for an Actual Practice
If you’re the one buying this stuff, a few things actually matter:
How many surgical cases does the practice see? A clinic doing implants and extractions weekly needs a deeper set than one that refers most surgical work elsewhere.
Stainless steel or titanium? Steel is still the default — cheaper, tough, handles sterilization fine. Titanium’s lighter and resists corrosion better, which some surgeons prefer for long procedure days.
Handle design isn’t just comfort — it’s fatigue. A contoured grip actually makes a difference by the fourth or fifth extraction of the day.
And the supplier matters more than people think. A reliable one means consistent quality and no scrambling when something wears out mid-week.
Wrapping Up
None of this gets much attention outside a dental office, but it’s worth understanding. That elevator loosening a stubborn tooth, that needle holder closing things up at the end — each one is doing a specific job, and it’s been designed that way for a reason. Next time you’re in the chair and catch sight of that tray, you’ll actually know what half of it is for.